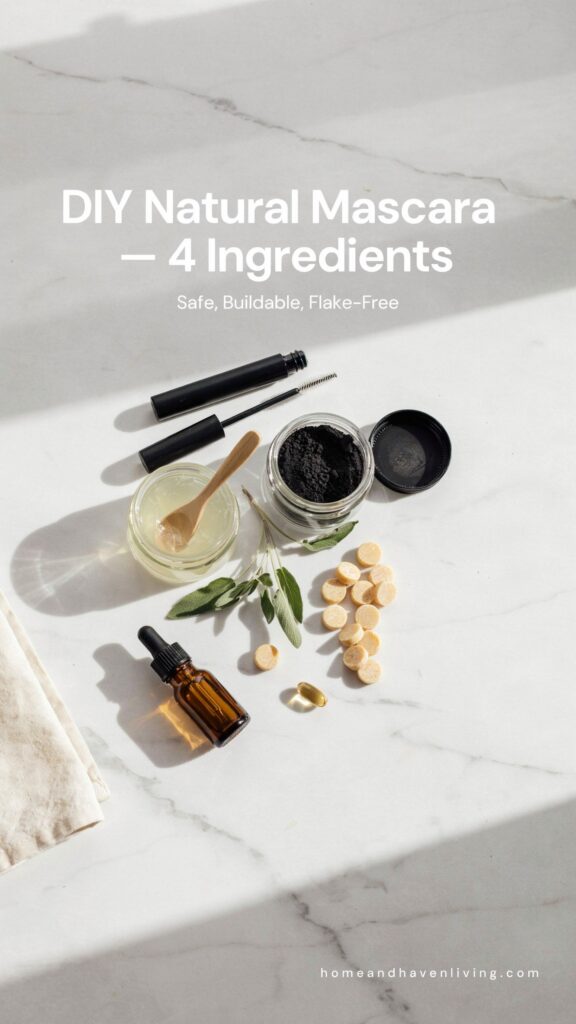
How to Make Natural Mascara at Home (Safe and Effective)
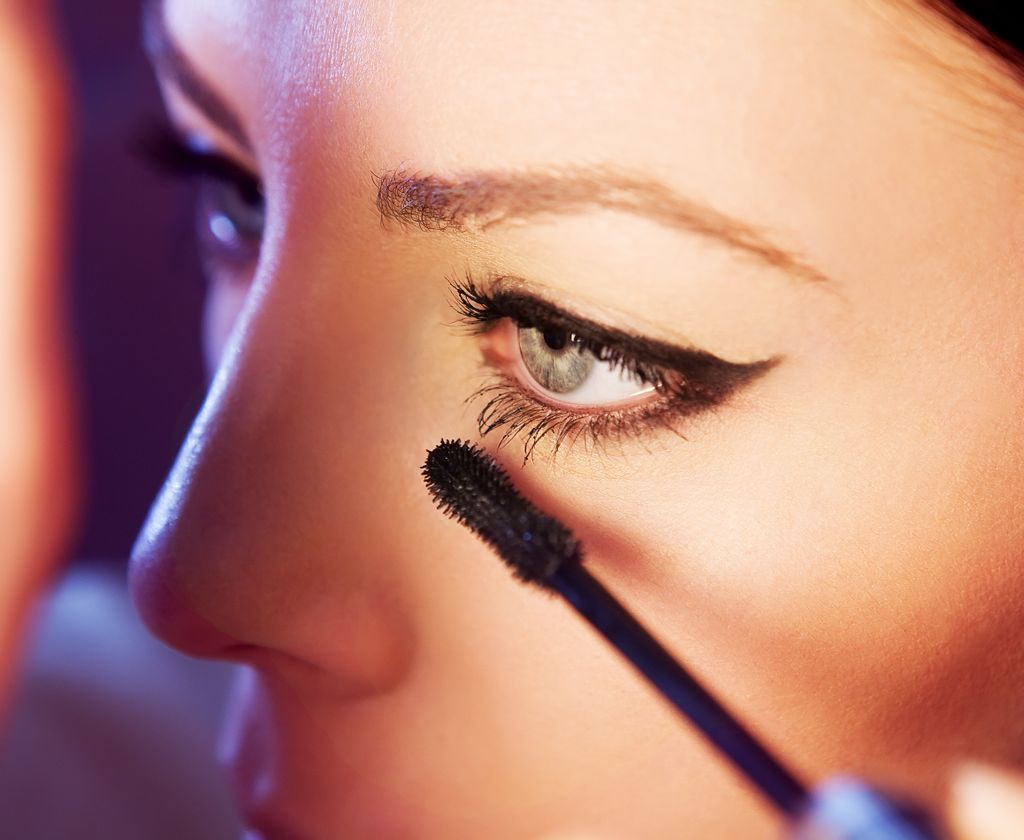
If you’ve ever flipped a mascara tube over and squinted at the ingredient list, you know the feeling — a wall of unpronounceable names and no real idea what you’re putting that close to your eyes, every single day. The good news is that mascara is one of the easiest natural beauty products to make at home, and with the right ratio of ingredients, it holds up just as well as the drugstore version — no flaking, no clumping, no smudging by lunchtime.
This recipe uses four ingredients you likely already have (or can grab in five minutes), gives you a rich, buildable black tint, and lasts 8–10 weeks when stored properly. Let’s get into it.
Why Make Your Own Mascara?
Conventional mascaras are often loaded with synthetic waxes, parabens, and shellac (yes — the same resin used to finish furniture and coat candy). Many formulas also contain fragrance blends that aren’t required to be disclosed on the label, which can be an issue for anyone with sensitive eyes or contact lens wearers.
It’s easy to assume that anything sold on a drugstore shelf has been thoroughly vetted for eye safety, but regulation of cosmetic ingredients is much looser than most people realize. Mascara in particular sits directly on the lash line, close to the tear duct, and gets reapplied daily — which means low-level exposure to synthetic preservatives and fragrance compounds adds up over time.
Making your own mascara means:
- You control every ingredient — no mystery preservatives or synthetic dyes
- It’s genuinely inexpensive — a batch costs a fraction of a single drugstore tube
- It’s reusable — refill an old, cleaned mascara tube instead of buying a new plastic one
- It’s gentle — great for sensitive eyes, contact lens wearers, and anyone prone to irritation
- It’s customizable — adjust the tint, thickness, or finish to suit your preference
This is also one of the simplest recipes to fold into an existing low-tox beauty routine. If you’ve already made the switch to a natural makeup remover, a homemade mascara is a natural next step — and the two pair well together at the end of the day, since this formula removes easily with the same oil-based approach.
Natural vs. Store-Bought Mascara
| DIY Natural Mascara | Average Drugstore Mascara | Average “Clean” Brand Mascara | |
|---|---|---|---|
| Cost per tube | ~$2–3 in ingredients | $8–15 | $18–28 |
| Common ingredients | Activated charcoal, aloe vera, beeswax, castor oil | Synthetic waxes, parabens, shellac, undisclosed “fragrance” | Mineral pigments, plant waxes, fewer synthetics |
| Shelf life (opened) | 8–10 weeks | 3–6 months | 3–4 months |
| Buildable coverage | Yes, 2 light coats recommended | Yes | Yes |
| Contact lens / sensitive eye friendly | Generally yes (patch test first) | Varies, often irritating | Usually yes |
| Removal | Melts off with coconut oil | Needs dedicated makeup remover | Often oil-soluble |
| Packaging waste | Reuses an old tube | New plastic tube each purchase | New plastic tube each purchase |
As the table shows, the biggest trade-off with a DIY version is shelf life — without synthetic preservatives, you’re working with a shorter window before the formula should be replaced. For most people who apply mascara daily, an 8–10 week batch works out perfectly, since you’ll use it up well before it has a chance to degrade.
What You’ll Need
Ingredients
- 1 tablespoon activated charcoal powder (for jet black pigment)
- 1 tablespoon aloe vera gel (pure, not the green-dyed drugstore kind)
- 1 teaspoon beeswax pellets (or candelilla wax for a vegan version)
- 1/2 teaspoon coconut oil or castor oil
- Optional: 1 small vitamin E capsule (natural preservative + lash conditioning)
Tools
- Small heatproof glass bowl or jar
- Small saucepan (for a double boiler)
- Toothpick or small whisk
- A clean, empty mascara tube (wash a used one thoroughly, or buy an empty one online)
- Small funnel (optional, for filling the tube neatly)
Step-by-Step Instructions
1. Set up a double boiler. Fill a small saucepan with an inch of water and bring it to a gentle simmer. Place your heatproof glass bowl or jar on top, making sure the bottom doesn’t touch the water.
2. Melt the wax and oil. Add the beeswax and coconut (or castor) oil to the bowl. Stir gently until fully melted and combined — this takes about 2–3 minutes.
3. Add the charcoal. Remove the bowl from heat and stir in the activated charcoal powder until you have a smooth, even, jet-black paste with no gritty bits.
4. Blend in the aloe vera. Add the aloe vera gel a little at a time, stirring continuously. This is what gives the mascara its glide and prevents it from hardening into a solid block. If you’re using a vitamin E capsule, pierce it and stir the oil in now.
5. Test the consistency. It should be similar to store-bought mascara — thick enough to coat a lash wand but still spreadable. Too thick? Add a few more drops of aloe vera. Too thin? Return to low heat and add a touch more beeswax.
6. Fill your tube. While the mixture is still warm and pourable, use a small funnel to transfer it into your clean mascara tube. Work quickly, as it firms up as it cools.
7. Cool and cure. Let the tube sit upright, uncapped, for about an hour to fully set before using.
Recipe Variations
| Variation | Swap | Why Try It |
|---|---|---|
| Vegan Mascara | Candelilla wax instead of beeswax | No animal-derived ingredients |
| Extra Lash Conditioning | Castor oil instead of coconut oil | Castor oil is popular for supporting lash health with regular use |
| Softer, Sheerer Tint | Reduce charcoal to 2 teaspoons | Great for a natural, everyday no-makeup look |
| Longer Shelf Life | Add 1 full vitamin E capsule | Natural antioxidant helps slow oxidation |
If lash health is your main goal rather than color payoff, this pairs beautifully with a dedicated lash treatment used at night. (DIY Castor Oil Lash Serum — 2 Ingredients) is a great companion recipe for exactly that.
Tips for Best Results
- Do a patch test first. Apply a small amount to your inner wrist and wait 24 hours before using it near your eyes, especially if you have sensitive skin or allergies.
- Keep it clean. Because this recipe has no synthetic preservatives, use a fresh toothpick or wand each time you dip in, and never add water to thin it out — water introduces bacteria growth.
- Shelf life. Store in a cool, dry place and use within 8–10 weeks. If it starts to smell off or change texture, toss it.
- Removal is easy. A little coconut oil or your regular oil cleanser will melt it right off — no harsh makeup remover required. If you want a dedicated formula for this step, see (Link: DIY Makeup Remover — Stop Using Wipes, 2-Ingredient Natural Recipe).
- Building color. Because activated charcoal is more matte than commercial pigments, apply two light coats rather than one thick one for the darkest, most even finish.
Troubleshooting
| Problem | Likely Cause | Fix |
|---|---|---|
| Mascara is clumpy | Too much wax | Remelt and add a bit more aloe vera |
| Mascara won’t hold on lashes | Too much aloe, not enough wax | Remelt and add a touch more beeswax |
| Flaking during the day | Too little oil | Add a few more drops of coconut or castor oil |
| Color looks grey, not black | Charcoal wasn’t fully dissolved | Stir longer, or sift charcoal before adding |
Is This Formula Safe During Pregnancy?
Because activated charcoal, aloe vera, beeswax, and castor oil are all generally well-tolerated topical ingredients, this recipe is often a good fit for anyone being extra cautious about what goes near their eyes during pregnancy — but as always, do a patch test and check with your midwife or doctor if you have any concerns. For a full breakdown of what’s safe and what to avoid during pregnancy more broadly, see (Link: Pregnancy Safe Essential Oils — What’s Safe, What to Avoid, and How to Use Them).
FAQ
Is homemade mascara actually safe for your eyes? When made with clean tools, quality ingredients, and stored properly, most natural mascara recipes are safe for average use. As with any new cosmetic, do a 24-hour patch test first, and stop use immediately if you notice irritation.
How long does DIY mascara last before it goes bad? Because this recipe has no synthetic preservatives, plan on 8–10 weeks of use. Store it in a cool, dry place, and always use a clean wand or toothpick to avoid introducing bacteria.
Can I use cocoa powder instead of activated charcoal? Cocoa powder gives a soft brown tint rather than true black, and it can clump more easily. Activated charcoal is the better choice if you want a deep black, buildable formula.
Does this natural mascara smudge or flake like some clean beauty brands? This formula is designed to avoid both issues — the wax-to-oil ratio keeps it flexible instead of brittle (which causes flaking), and it fully cures before use so it doesn’t transfer. If you notice flaking, add a touch more oil per the troubleshooting chart above.
Is this mascara waterproof? No — this is a natural, non-waterproof formula. It will hold up through a normal day but isn’t designed to withstand swimming or heavy sweating.
Can I make this vegan? Yes — simply substitute candelilla wax for the beeswax at the same ratio.
Can I use an old mascara tube, or do I need to buy a new one? You can absolutely reuse an old tube. Wash it thoroughly with warm soapy water, rinse well, and let it air dry completely before refilling — any leftover moisture can affect shelf life.
Why did my mascara turn out too thick to apply smoothly? This usually means the wax-to-oil ratio leaned too heavy on wax. Gently remelt the mixture over your double boiler and stir in a few extra drops of aloe vera gel or oil until it reaches a spreadable consistency.
Final Thoughts
This natural mascara recipe is proof that “clean beauty” doesn’t have to mean sacrificing performance. It’s buildable, it’s gentle enough for daily wear, and it costs pennies compared to most conventional options. Once you have the base ratio down, feel free to experiment — try castor oil for extra lash-conditioning benefits, or swap beeswax for candelilla wax to keep it fully vegan.
Have you tried making your own mascara? Let us know how it turned out in the comments below!
🛍️ Shop the Guide
Want more DIY beauty recipes like this one, all in a single easy-reference guide? Check our our store here, which includes safe skincare swaps, DIY recipes, and printable planners for building out a full natural beauty routine.
You Might Also Like
- https://homeandhavenliving.com/diy-castor-oil-lash-serum-2-ingredients/DIY Castor Oil Lash Serum — 2 Ingredients for Fuller, Longer Natural Lashes
- DIY Makeup Remover — Stop Using Wipes, 2-Ingredient Natural Recipe
- Pregnancy Safe Essential Oils — What’s Safe, What to Avoid, and How to Use Them