Step-by-Step Guide to Crafting Your Own Natural Vinegars
Vinegar is a staple ingredient in kitchens around the world, known for its tangy flavor and numerous health benefits. But did you know that you can easily make your own vinegar at home using natural ingredients? Crafting your own vinegar not only ensures that you know exactly what goes into it but also allows you to tailor the flavor and acidity to your preferences. This guide will take you through the process of making different types of vinegar, from fruit-based to grain-based varieties, using simple methods that anyone can follow. Not only will you learn the step-by-step process, but we’ll also explore the benefits of homemade vinegars, why they are superior to commercial options, and how they can enhance both your culinary creations and overall wellness. Whether you are looking to reduce your carbon footprint, save money, or enjoy a hands-on, rewarding hobby, making your own vinegar is a fantastic way to connect with natural food preservation methods and elevate your kitchen pantry.
Benefits of Making Your Own Vinegar
Why Choose Homemade Vinegar?
- Control Over Ingredients: No added sugars, preservatives, or artificial flavorings.
- Cost-Effective: Save money by using basic kitchen ingredients.
- Eco-Friendly: Reduces packaging waste and avoids single-use plastic bottles.
- Healthier Option: Homemade vinegar retains beneficial nutrients and probiotics not found in commercial varieties.
| Store-Bought Vinegar | Homemade Vinegar |
|---|---|
| Often contains added sugars | Naturally fermented, no additives |
| High acidity can be harsh | Softer, more balanced acidity |
| Expensive per bottle | Economical and easy to make |
| Not typically raw | Raw and unfiltered, retains beneficial nutrients |
Basic Tools Needed
- Glass Jars or Bottles: For fermentation and storage.
- Clean cloth or cheesecloth: To cover jars and allow air circulation.
- Rubber bands or twine: To secure the cloth over the jars.
- Scale: For accurate ingredient measurements.
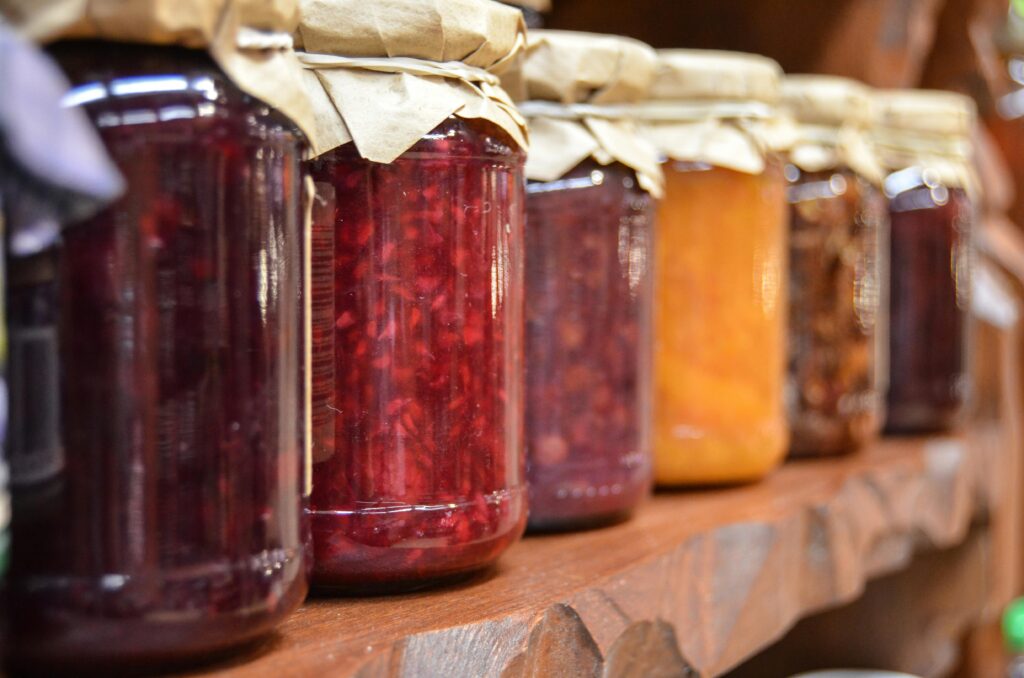
Types of Vinegar You Can Make
Basic Vinegar Recipe:
Ingredients:
- 1 cup of distilled water
- 1 cup of sugar (white or brown sugar works fine)
- 1 cup of a neutral alcohol (such as white wine, rice wine, or cider) or fruit juice (like apple juice or grape juice)
Equipment:
- 1 glass or ceramic jar (must be clean and sanitized)
- A clean cloth or paper towel
- A rubber band or string
Instructions:
- Prepare the Jar:
- Begin by thoroughly cleaning a glass or ceramic jar with hot, soapy water. Rinse well and let it air dry or dry with a clean towel.
- Mix the Ingredients:
- In a small saucepan, heat the distilled water until warm, but not boiling. Add the sugar and stir until it dissolves completely. Remove from heat and let it cool to room temperature.
- Once the sugar water is cooled, pour it into the jar.
- Add the alcohol (white wine, rice wine, cider) or fruit juice to the jar.
- Cover the Jar:
- Cover the top of the jar loosely with a clean cloth or paper towel. Secure it with a rubber band or string. This will allow air circulation, which is important for the fermentation process.
- Fermentation:
- Place the jar in a warm, dark place in your kitchen. Over the next few weeks, beneficial bacteria and yeast will begin to work on converting the alcohol or sugar into acetic acid, which gives vinegar its distinct flavor.
- Stir the mixture once a day to help speed up fermentation and to ensure uniform acidity.
- Monitor the Progress:
- After 2-4 weeks, taste the vinegar to check its acidity. It should have a tangy, vinegar-like taste. The length of time it ferments will depend on how strong you want your vinegar to be—some prefer a milder vinegar after 2 weeks, while others let it go for a month or more for a more robust flavor.
- Strain and Bottle:
- Once the vinegar has reached the desired taste, strain it through a fine mesh strainer or cheesecloth into clean, sterilized bottles. Discard the solids left behind.
- Cap the bottles tightly and store them in a cool, dark place. The vinegar will continue to mature and develop a more refined taste over time.
Notes:
- This basic vinegar recipe allows for endless variations by using different types of alcohol or fruit juice. For example, you can use apple juice to make apple cider vinegar, or wine for white or red wine vinegar.
- Over time, you may notice a “mother” forming in the vinegar—this is a natural byproduct of the fermentation process and indicates that your vinegar is healthy. The “mother” can also be used to start a new batch of vinegar.
Apple Cider Vinegar
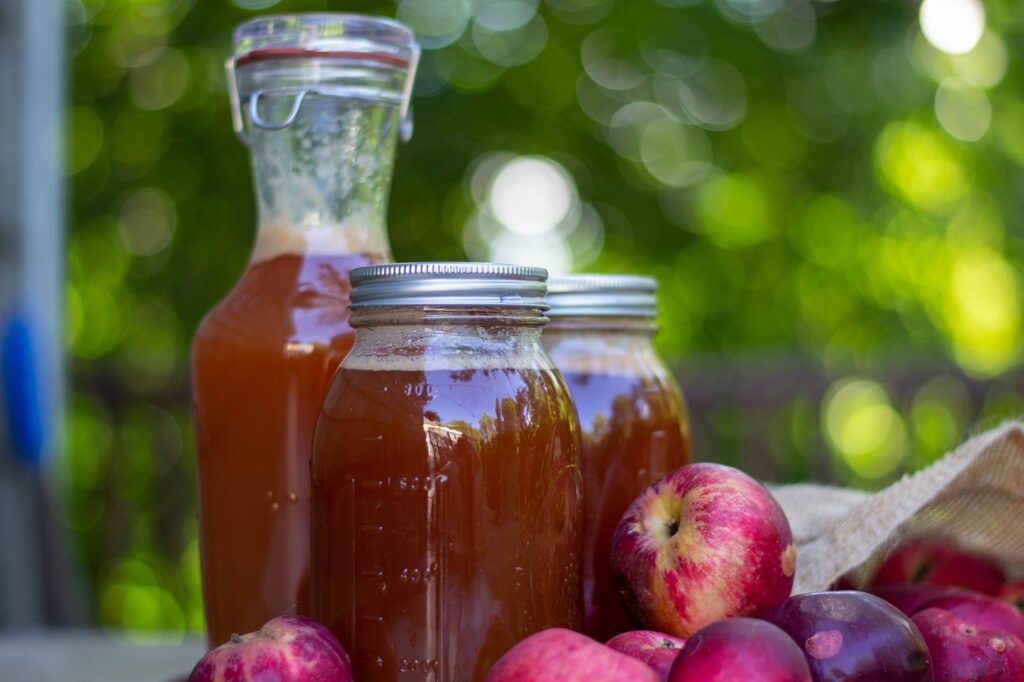
Apple cider vinegar (ACV) is one of the most popular homemade vinegars. It’s known for its numerous health benefits, including aiding digestion and weight loss.
| Ingredients | Amount |
|---|---|
| Apple scraps or cores | 4 cups |
| Water | 2 cups |
| Sugar (optional) | 1 tbsp |
Directions:
- Place apple scraps or cores in a glass jar.
- Cover with water, leaving about 2 inches of headspace.
- If desired, add sugar to speed up fermentation. Stir well.
- Cover the jar with a clean cloth or cheesecloth secured with a rubber band.
- Let it sit in a warm, dark place for 2-4 weeks, stirring occasionally.
- Strain and transfer to a clean jar or bottle. The vinegar is ready when it has a balanced flavor and is slightly cloudy.
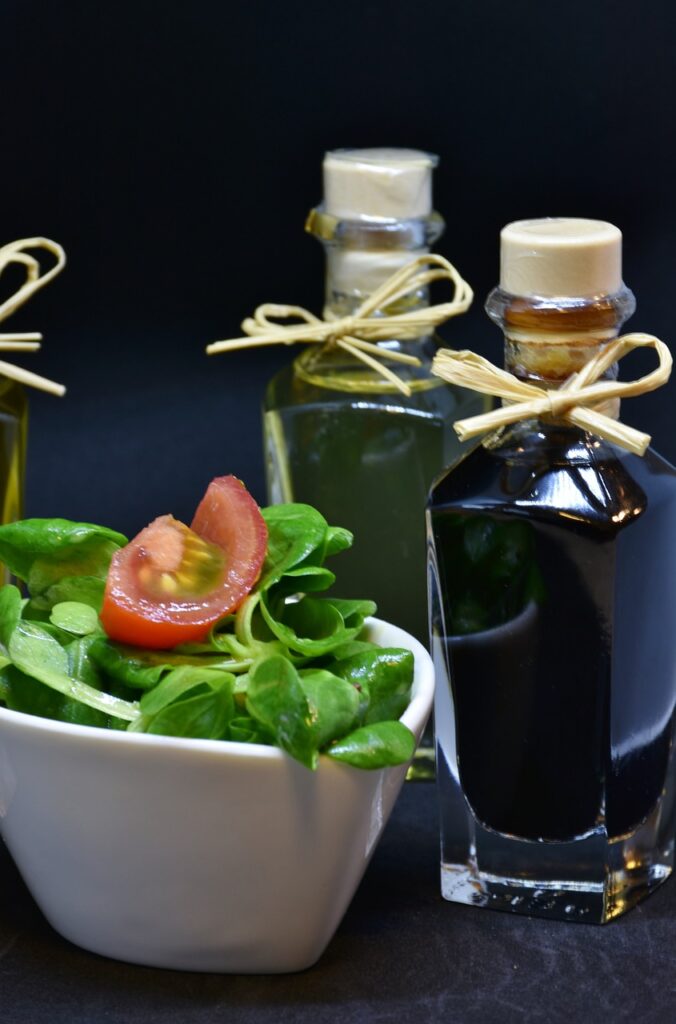
Wine Vinegar
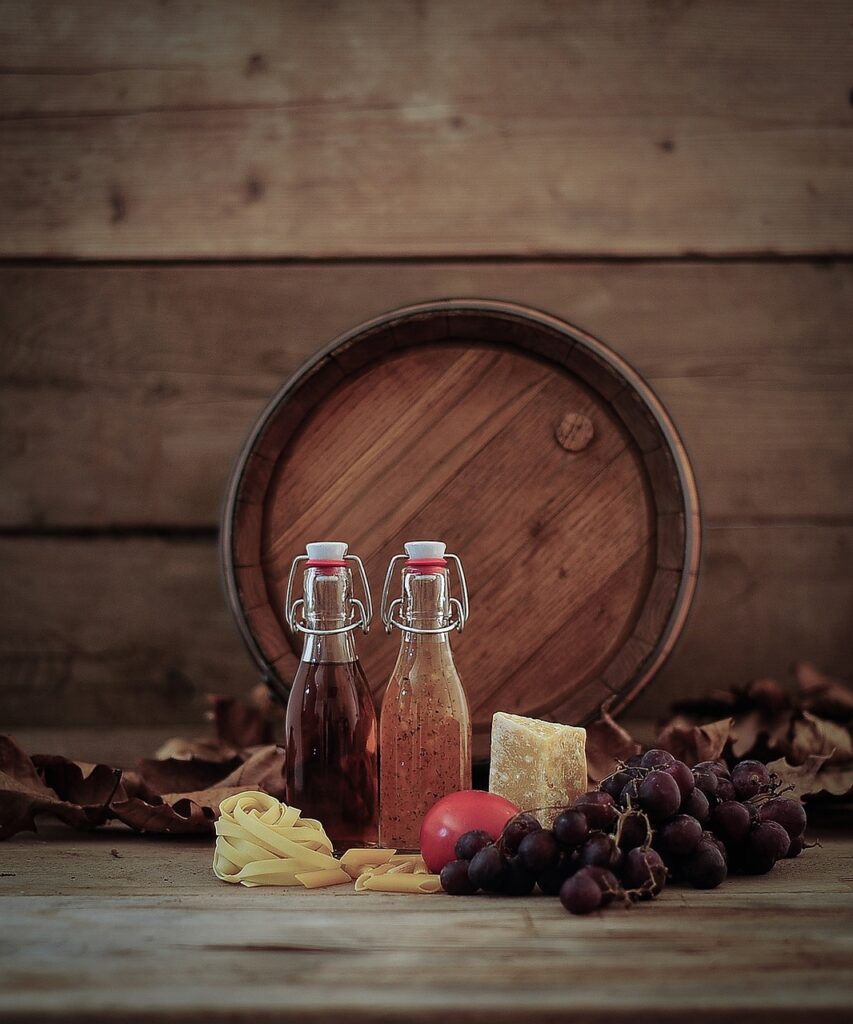
Wine vinegar, made from red or white wine, is smooth and adds a robust flavor to dishes.
| Ingredients | Amount |
|---|---|
| Wine (red or white) | 4 cups |
| Water | 2 cups |
| Sugar (optional) | 1 tbsp |
Directions:
- Pour wine into a glass jar, adding water if necessary to dilute.
- Add sugar if desired to kick-start fermentation.
- Cover with a clean cloth or cheesecloth and let it sit in a dark, warm place.
- Allow the mixture to ferment for 4-6 weeks, stirring occasionally.
- Strain and bottle when it reaches the desired flavor.
Rice Vinegar
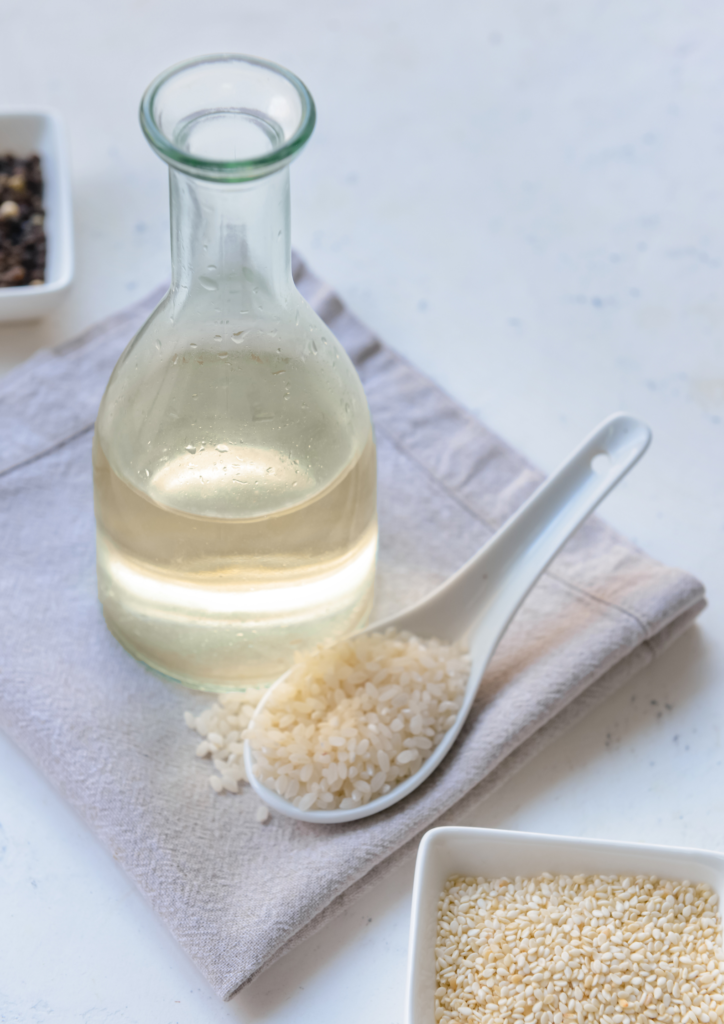
Rice vinegar is a milder option often used in Asian cuisines.
| Ingredients | Amount |
|---|---|
| Rice | 2 cups |
| Water | 4 cups |
| Sugar (optional) | 1 tbsp |
Directions:
- Cook rice in water until it’s soft.
- Cool slightly, then add sugar and stir well.
- Transfer to a clean glass jar and cover with a clean cloth.
- Ferment in a dark, warm place for 4-6 weeks.
- Strain and bottle once it develops a balanced flavor.
Key Tips for Successful Vinegar Making
- Warm, Dark Place: Vinegar ferments best in a consistent environment. A pantry or cupboard away from direct sunlight works well.
- Patience: Allow ample time for fermentation to develop the vinegar’s flavor and acidity. It may take several weeks to several months.
- Taste Test: Sample the vinegar periodically to gauge its readiness. Once it reaches your desired taste, it’s ready.
- Storage: Store homemade vinegar in dark glass bottles in a cool, dark place to maintain its quality.
Why Store-Bought Vinegars Fall Short
Store-bought vinegars often contain added sugars, artificial flavorings, and preservatives that compromise their nutritional value and flavor. By making your own vinegar, you retain the natural benefits of fermentation, including probiotics that can support gut health. Additionally, homemade vinegar is more economical and environmentally friendly, reducing waste and the use of plastic bottles.
Conclusion
Crafting your own natural vinegars is not just a trend—it’s a return to a traditional, sustainable way of food preservation that brings numerous benefits to your home kitchen. By making vinegars yourself, you have complete control over the ingredients and processes, ensuring that no harmful additives or preservatives are included. Homemade vinegars are not only healthier but also more flavorful and versatile than their store-bought counterparts. They can be used in a variety of recipes, from salad dressings to marinades and even natural cleaning solutions, enhancing both the taste and nutritional value of your dishes. Plus, the act of making vinegar yourself is a hands-on, rewarding experience that can deepen your understanding of food and sustainability. By choosing to make vinegars at home, you are taking a step towards a more self-sufficient lifestyle and fostering a deeper connection with the foods you consume. Embrace the simplicity and satisfaction of crafting your own natural vinegars, and discover the countless ways they can enrich your daily life.
References
- Healthline. (2022). Apple Cider Vinegar Benefits.
- Nutrition Journal. (2021). Fermented Vinegars and Their Health Benefits.
- Journal of Food Science and Technology. (2019). Effect of Fermentation Time on the Quality of Homemade Vinegars.
- Journal of Agricultural and Food Chemistry. (2018). Comparison of Nutritional Components in Homemade vs. Store-Bought Vinegar.
As an Amazon Affiliate, we earn from qualifying purchases, but at no extra cost to you.
Ready to start your homesteading journey? Check out this eBook for beginners to get you started.