This is a step-by-Step Guide for Beginners with Safety Tips
Canning is a time-honored tradition that allows you to enjoy the flavors of summer all year long. From sweet jams to savory sauces, canning preserves the bounty of your harvest while reducing food waste. For beginners, it may seem intimidating, but with the right tools, techniques, and safety practices, it’s a rewarding and practical skill that aligns beautifully with sustainable living.
This comprehensive guide walks you through the essentials of canning, highlights the benefits of preserving your own food, and provides expert tips for safe and effective storage. Whether you’re a homesteader or simply looking for a way to cut down on store-bought, processed goods, this guide will help you savor your harvest while embracing the joy of DIY living.
Why Choose Homemade Canning?
Benefits of DIY Canning
Freshness: Capture peak flavor and nutrients from your produce.
Sustainability: Reduce packaging waste and reliance on store-bought goods.
Control: Avoid artificial preservatives and additives.
Cost Efficiency: Save money by preserving seasonal produce for later use.
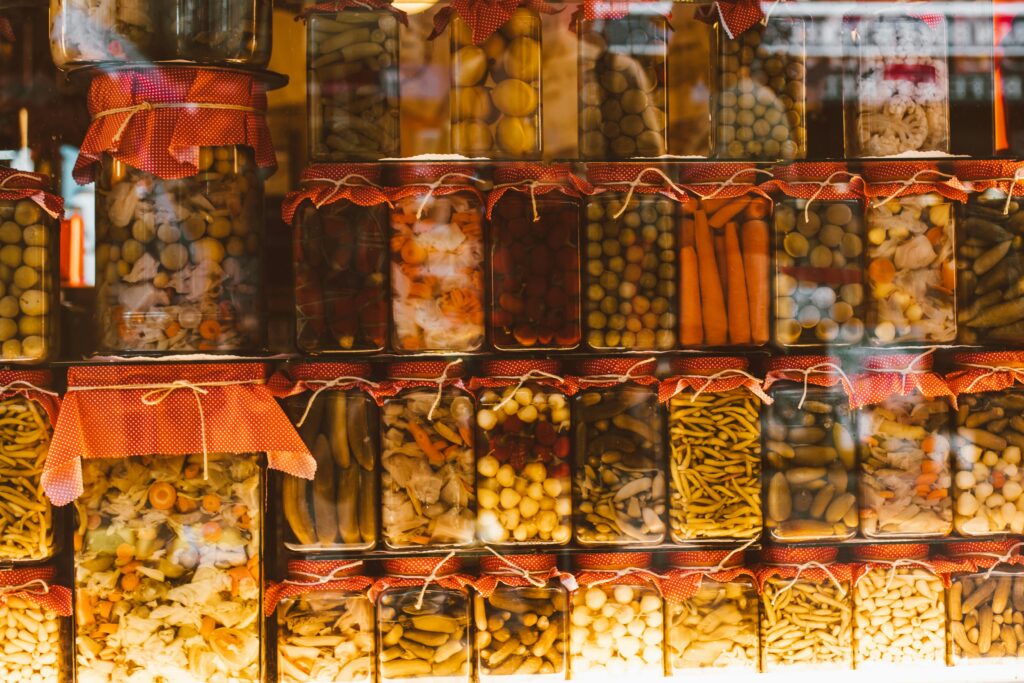
Water Bath Canning: Best for high-acid foods like fruits, jams, and pickles.
Pressure Canning: Necessary for low-acid foods like meats, vegetables, and soups.
Food Type
Method
Jams, jellies
Water bath canning
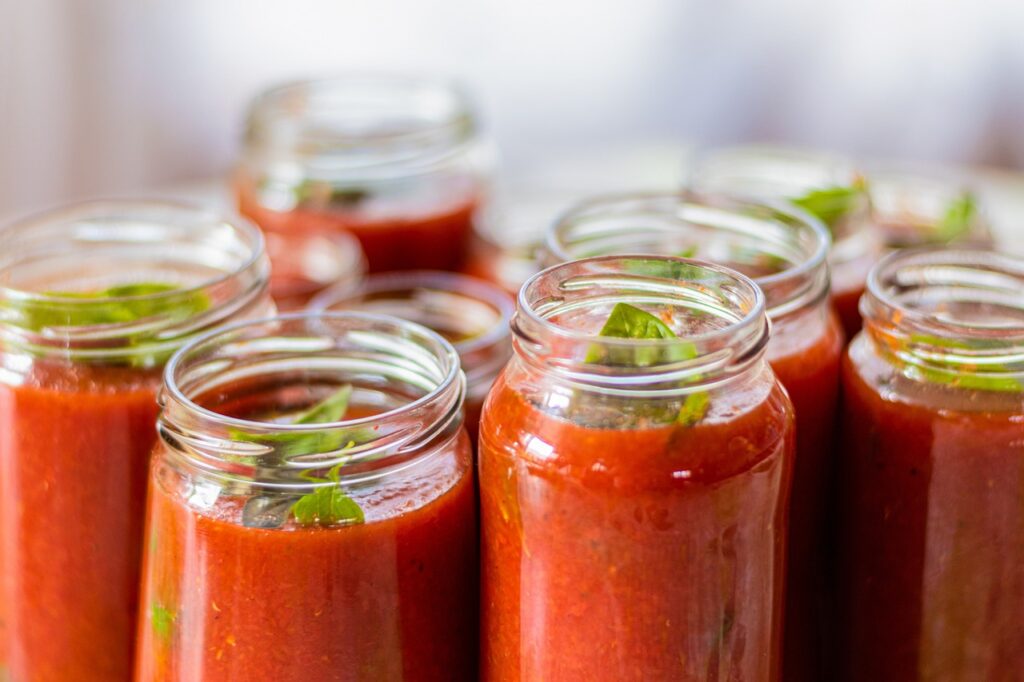
Tomato-based sauces
Water bath or pressure (with acid added)
Green beans, corn
Pressure canning
Soups, stews
Pressure canning
Step-by-Step: How to Can Safely
1. Prepare Your Produce
Wash and cut fruits or vegetables into desired sizes.
Remove any blemishes or overripe spots.
2. Sterilize Your Jars
Boil jars in a large pot for 10 minutes.
Keep them hot until ready to use.
3. Fill Jars with Food
Use a funnel to fill jars, leaving appropriate headspace (½ inch for most).
Remove air bubbles with a spatula.
4. Seal the Jars
Wipe the rim of the jar clean.
Place the lid on top and screw the band on until fingertip-tight.
5. Process the Jars
Place jars in a water bath or pressure canner, ensuring they are fully submerged.
Follow recipe-specific guidelines for processing times.
6. Cool and Check Seals
Remove jars and let them cool for 12-24 hours.
Check for proper sealing by pressing the lid—no movement means it’s sealed.
Recipes for Beginners
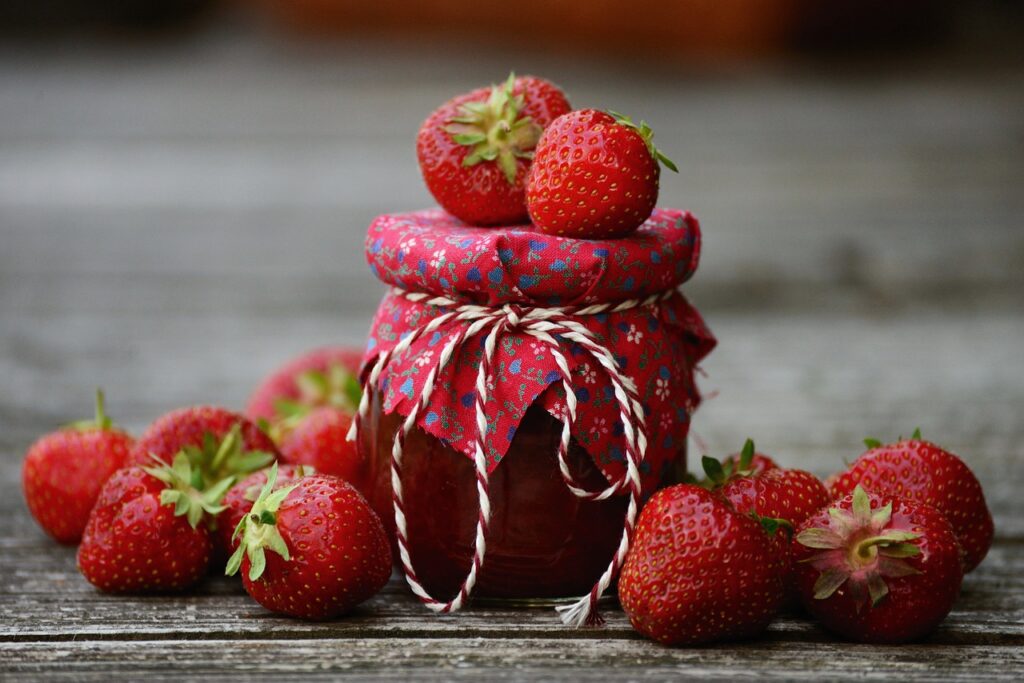
Classic Strawberry Jam
Ingredients
Amount
Strawberries, hulled
2 lbs
Sugar
4 cups
Lemon juice
2 tbsp
Directions: Mash strawberries, mix with sugar, and simmer until thickened. Add lemon juice and can use the water bath method.
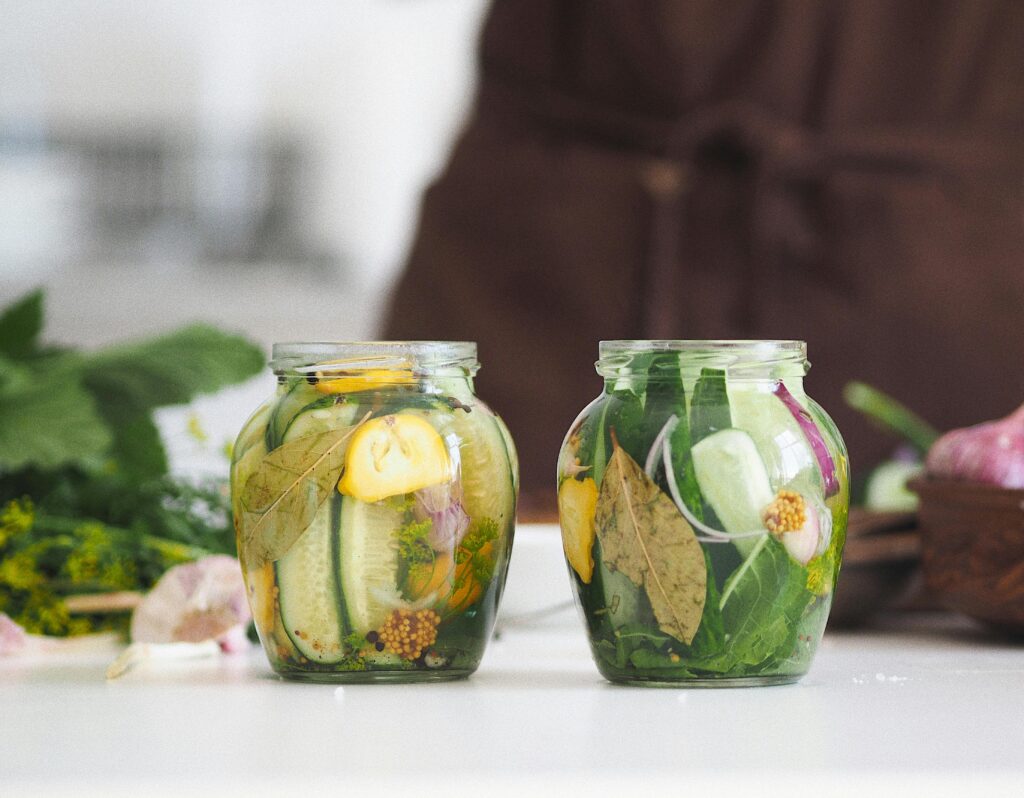
Pickled Cucumbers
Ingredients
Amount
Cucumbers, sliced
2 lbs
Vinegar
4 cups
Water
2 cups
Dill, garlic, spices
As desired
Directions: Combine vinegar and water, add spices, and pour over cucumbers in jars. Process in a water bath for 15 minutes.
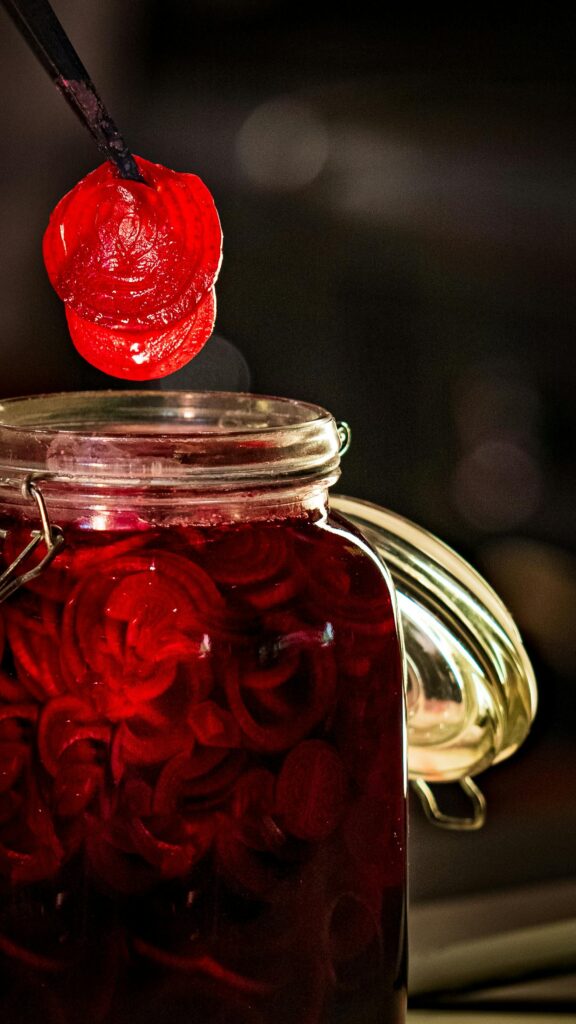
Pickled Beets
Ingredient
Quantity
Beets
3 lbs
Vinegar
2 cups
Sugar
1 cup
Salt
1 tsp
Allspice
1 tsp
Steps
1. Boil beets until tender, peel, and slice.
2. Combine vinegar, sugar, salt, and allspice in a saucepan; bring to a boil.
3. Pack beets into sterilized jars and pour the hot vinegar mixture over them.
4. Seal and process in a boiling water bath for 30 minutes.
Canned Tomato Sauce
Ingredient
Quantity
Tomatoes
10 lbs
Salt
1 tbsp
Citric acid
2 tsp
Steps
1. Blanch tomatoes in boiling water, peel, and chop.
2. Simmer chopped tomatoes until thickened, stirring occasionally; add salt and citric acid.
3. Transfer sauce into sterilized jars, leaving 1/2-inch headspace.
4. Seal jars and process in a boiling water bath for 35 minutes.
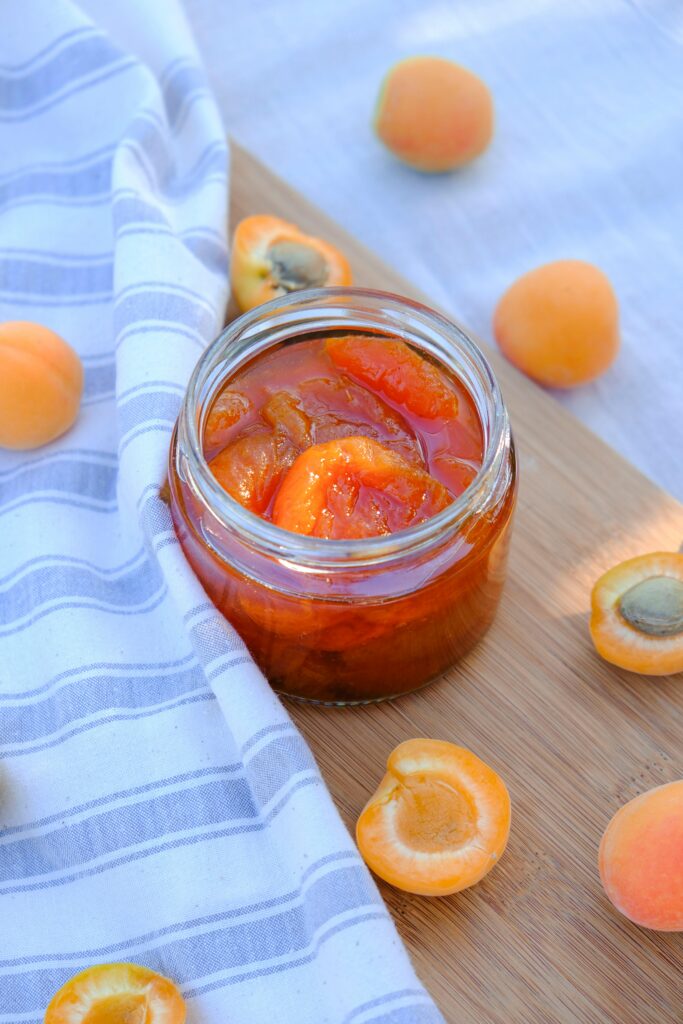
Peach Preserves
Ingredient
Quantity
Peaches
6 cups
Sugar
4 cups
Lemon juice
1/4 cup
Steps
1. Mix peaches, sugar, and lemon juice in a large saucepan and boil.
2. Simmer for 30 minutes, stirring frequently.
3. Spoon the preserves into sterilized jars, leaving 1/4-inch headspace.
4. Seal jars and process in a boiling water bath for 10 minutes.
Common Mistakes and Safety Tips
Mistake
Solution
Not sterilizing jars
Always boil jars before filling.
Skipping headspace
Leave appropriate space to prevent spillage.
Using improper lids
Always use new lids for a proper seal.
Not following processing times
Follow exact guidelines to avoid spoilage.
Sustainability Benefits of Canning
Reduce Food Waste: Save overripe fruits or excess garden produce.
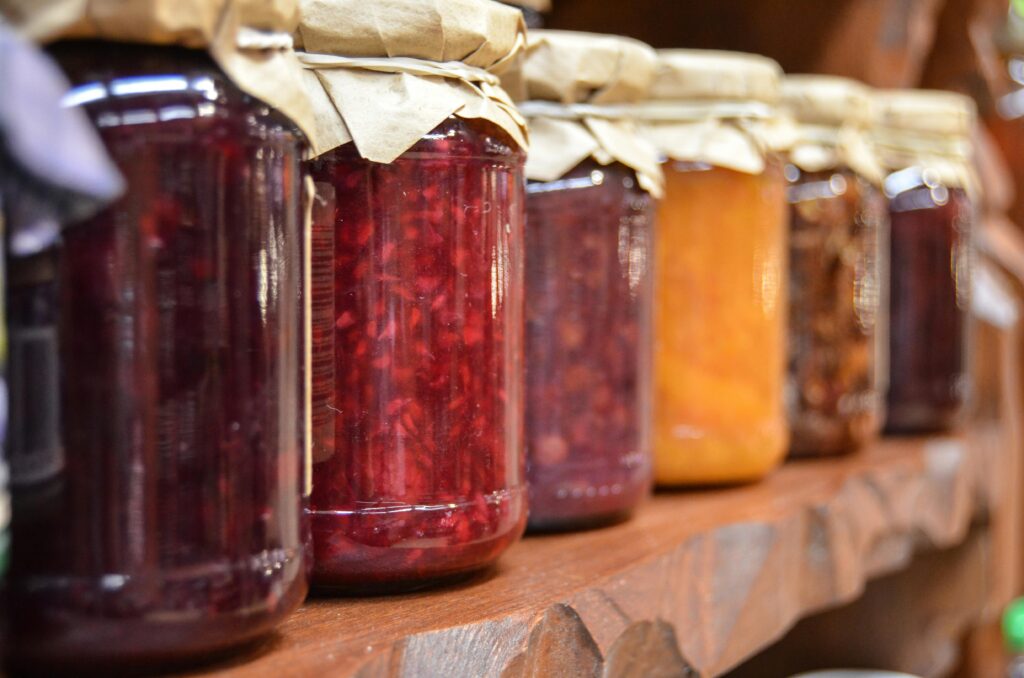
Reusable Materials: Glass jars can be reused for years.
Seasonal Eating: Enjoy local produce year-round.
Minimize Packaging: Skip single-use plastics and store-bought cans.
Key Takeaways
Benefits of DIY Canning
Drawbacks of Store-Bought
Customizable flavors
Limited options
Sustainable and eco-friendly
Non-recyclable packaging
Cost-effective
Expensive per serving
Nutrient retention
Lower quality and freshness
Conclusion
Canning is more than just a way to preserve food; it’s a step toward self-sufficiency, sustainability, and healthier living. By learning to can at home, you can take control of what goes into your pantry, reduce your environmental impact, and enjoy the flavors of your favorite seasonal produce all year.
As the old saying goes, “Preserve today, enjoy tomorrow.” Canning allows you to do just that, creating a pantry full of homemade goodness that nourishes your family and the planet. Embrace this skill, and savor the satisfaction of creating something truly meaningful and delicious.
References
Ball Canning. (2022). Guide to Home Canning for Beginners.
USDA. (2021). Complete Guide to Home Canning.
Sustainable Food Movement. (2020). Canning and Preserving: A Green Solution.
Eco-Friendly Living Blog. (2022). Sustainable Kitchen Practices.
As an Amazon affiliate, we earn from qualifying purchases, but at no extra cost to you.
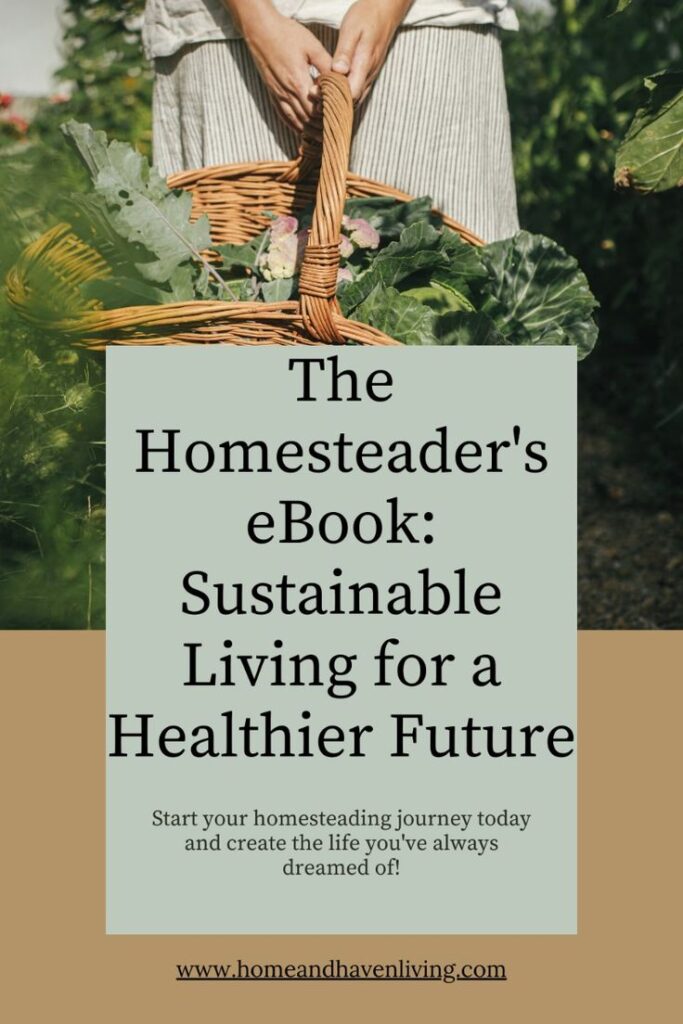
Interested in starting your homesteading? Follow this eBook for beginners. It gives you all the tips, tricks and tools to get you started.